Monday, October 31, 2011

eCraft Monday Design Team Project


HAPPY HALLOWEEN!!!


Before we start with today’s project, I want to wish you all a happy and safe Halloween!  I hope that all the kids have a wonderful time today!


Now that Halloween is here, believe it or not, it is time to start thinking about another major crafting holiday that is coming!  It is less than 2 months away…that’s right I am talking about Christmas!  This month, the eCraft Design Team is focusing on Christmas.  We have another wonderful sponsor too!  Pink by Design Stamps!  This week all of us are going to be using Pink by Design Stamps to make a Christmas project using an image from eCraftCentral.com and fabric.  I have decided that for this month, I am going to focus my Design Team projects on one of my favorite parts of the Christmas season…gift giving!  Every year, I put together some food gifts to give to some of the people in my life to show how much I appreciate them.

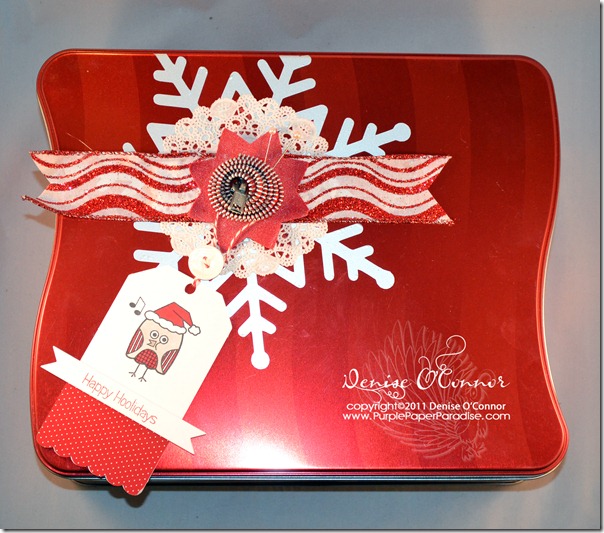
DSC_0106_edited-1

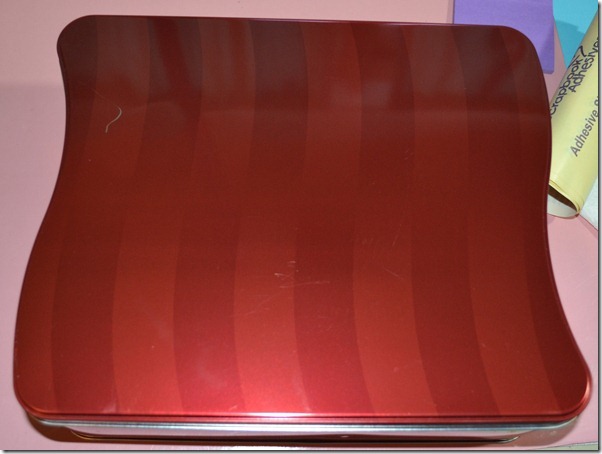
I started this project with a recycled cookie tin.  I love the shape of this tin and the red color is just gorgeous.  There is however a scratch in the lid, so I knew that I wanted to cover that up.

DSC_0069-3_edited-1


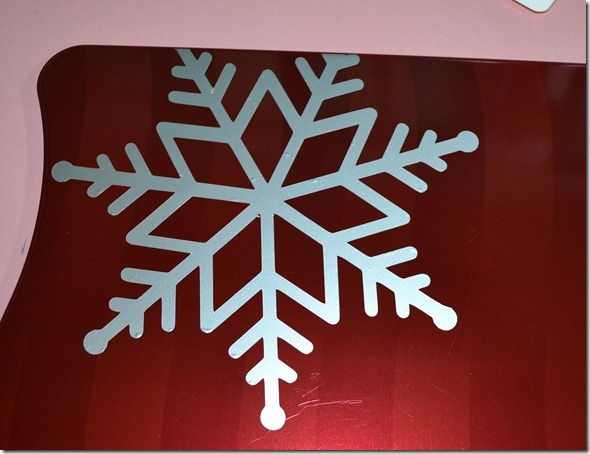
A snowflake from eCraftCentral.com found HERE cut in silver vinyl is just what is needed to cover that scratch!  The snowflake went over the top edge of the tin a little, but that is not a problem, I just trimmed off the excess.


DSC_0071-3_edited-1

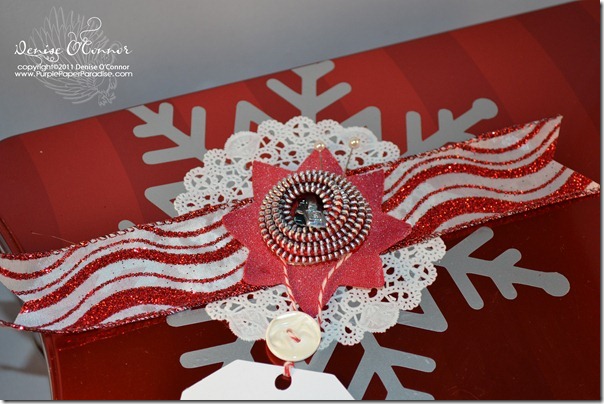
Now to add more on top of the snowflake!  I added a doily that is from Wilton and can be found in the cake decorating aisle of any major craft store.  I then added a strip of ribbon on top of that.  Then I cut another image from eCraftCentral.com


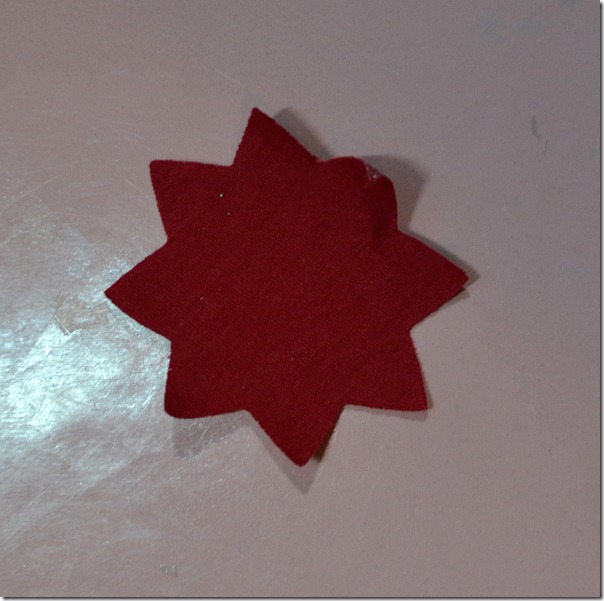
DSC_0073-2_edited-1

This shape is actually an outline of THIS flower.  I obviously did not draw any of the inset pieces.  This shape was cut out of an old t-shirt of my husband’s.  I love how even with the Heat n Bond on the back the edges still curl up a little to add a little more dimension.  I also spritzed this with some Perfect Pearls mist and since the fabric I used is a t-shirt, it really soaked up the mist well.


DSC_0104_edited-1

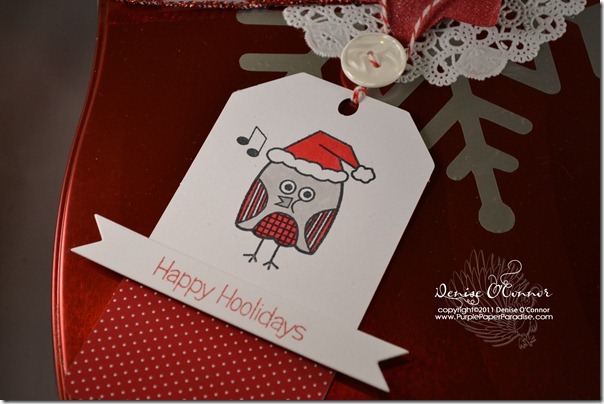
The zipper flower and the pearlized pins are the finishing touches.  Next step is the tag!  Every good gift needs a tag and this is where my Pink by Design Stamp Set came into play.  I love this little owl from the Beary Merry Christmas stamp set.


DSC_0105_edited-1

First off the tag is another cut from eCraftCentral.com found HERE and I cut the tag out twice.  Once in white cardstock and the next time in a red polka dot patterned paper.  I cut the patterned paper tag and adhered the bottom portion onto my tag and stamped the owl in the top half.  I just had to color in this cutie with some Copics!  To keep with my color theme, I made the owl a light gray, and colored in the red hat and some red accents on the wings and the belly.  The sentiment is also from the Pink by Design Beary Merry Christmas stamp set.  To attach the tag, I tied a bit of red baker’s twine to the zipper flower and added a white pearly button.

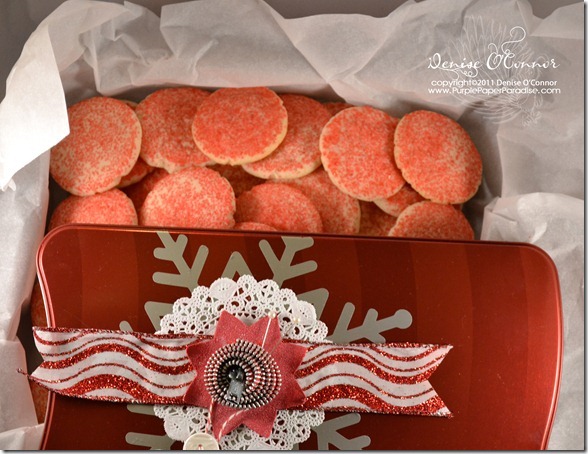
Now, what to put inside this box!  I chose to fill it up with some Sugar Cookies.  These are the easiest sugar cookies to make and a recipe that I grew up on.

DSC_0110_edited-1


Here is the recipe in case you would like to make them yourself!

AUNTIE BARB’S SUGAR COOKIES (No-Roll Sugar Cookies)

1 cup sugar

1 cup butter

1 egg

1 tsp. vanilla

2 cups flour

1 tsp. cream of tartar

1/4 tsp. salt

1/2 tsp. baking soda


Cream sugar and butter together.  Add egg and vanilla.  Blend in the remaining ingredients that have been sifted together. Roll dough into small balls and place on ungreased cookie sheet.  Flatten with the bottom of a glass that has been dipped in sugar (it helps if the glass is a little wet to pick up the sugar).  Bake in a preheated oven at 350 degrees for 10 minutes or until slightly browned around the edges.


Hope you enjoyed my project this week!  I will be back on Friday with a video tutorial for all of you!

Monday, October 24, 2011

eCraft Monday Design Team Project


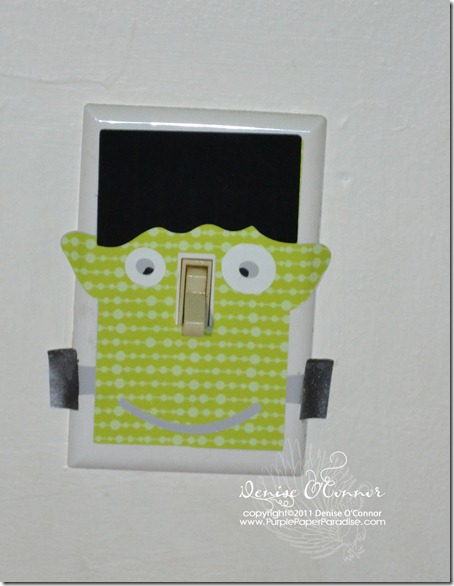
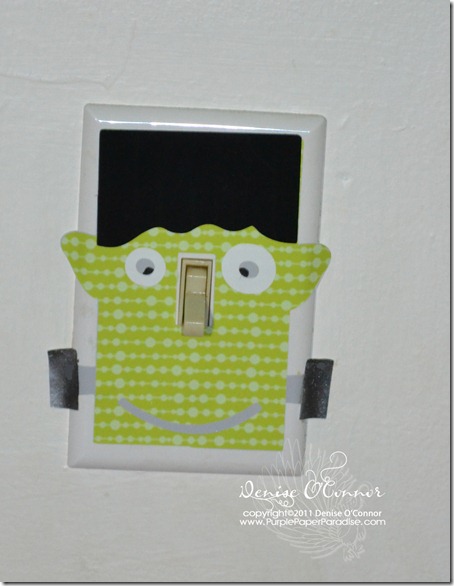
It’s Monday again, and that means another eCraft Design Team Project! This week the Design Team was tasked with making some Halloween Home Décor using the wonderful Square 1! When I saw the Cut-Its Set from Lettering Delights called Monster Lights, I knew exactly what I wanted to do!

DSC_0070-2_edited-1

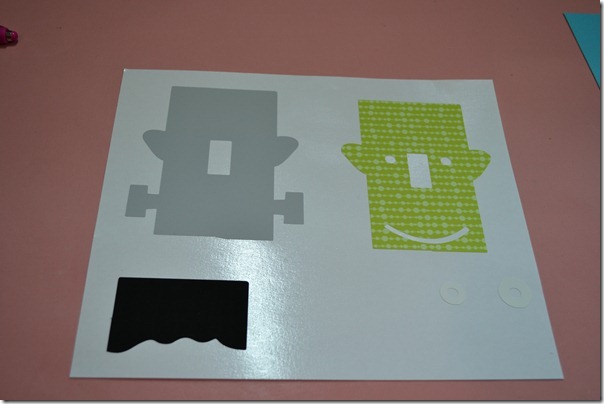
Spooky huh?  I used the Print & Cut Hinge Method to cut this entire design out of one piece of Square 1 by printing blocks of colors and textures with Make the Cut.

DSC_0067-1

I cut these out using a pressure of 2 1/2 to get a great kiss cut on the pieces.  I did not cut out the end pieces on the bolts because I wanted to experiment with using Perfect Pearls on Square 1.

DSC_0071-1_edited-1

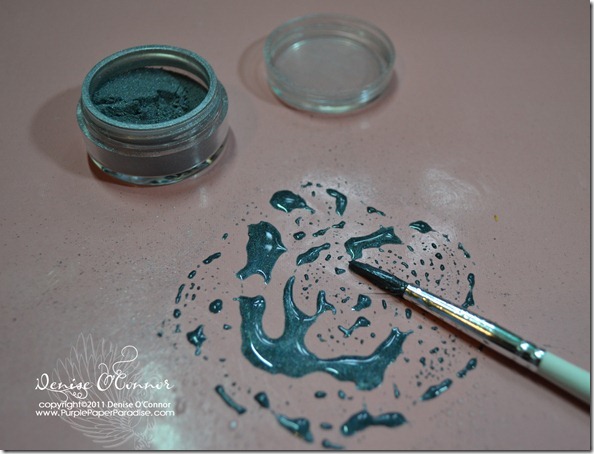
To start with I mixed a little Pewter colored Perfect Pearls with some water on my non-stick craft mat.

DSC_0072-1_edited-1

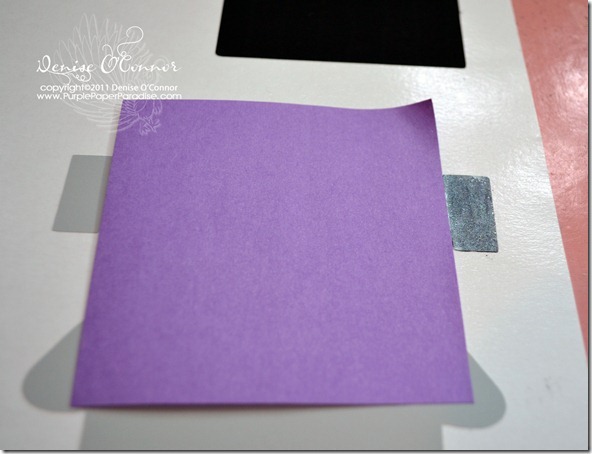
I then masked off the end bolt with a post it note and painted my Perfect Pearls on.

DSC_0073-1

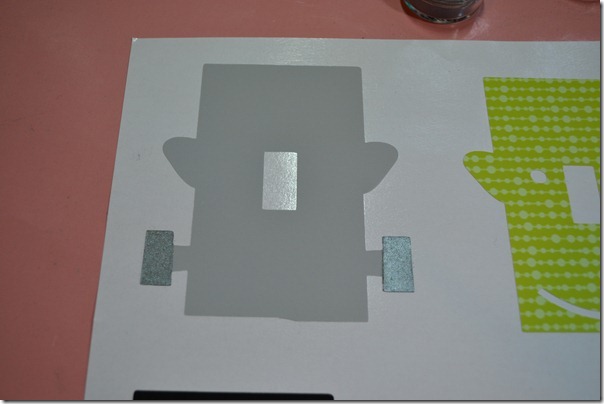
Here they are all painted on!  Love that shimmer!


DSC_0070-2_edited-1

I used my Copic Multiliner to color in the pupils and make him a little bit silly!  The Perfect Pearls worked well, but I think it would work better if the Square 1 was not printed already.  I did have a little flaking on this after my son was playing with it, so this may also not be great on something like this which will come in contact with little fingers.


One of the things that I just love about Square 1 is that it is removable, so that means when Halloween is over, I can peel this off the light fixture and place it back on the backing paper and save it for next year!


Since this is my last Design Team project using Square 1, I just have to say that I LOVE this stuff!  I will definitely be using it again in the future, and it is now a new staple in my craft room.  My oldest son is also enjoying that his mommy can make any kind of stickers that he wants.  I actually have to limit him on this, because the requests have just gone crazy!  If you have not ordered some Square 1, be sure to do it!


Debi, Lisa and Raven will be sharing some more Square 1 projects with you this week, so make sure that you are following us on the eCraft by Craftwell blog, and then next week we will have a new fabulous sponsor that you will not want to miss!  Have a great week everybody!

Thursday, October 20, 2011

eCraft Video–eCraftshop Pro-Working with Long Mat Sizes


Hello everybody!  Have I mentioned that this time of year is a very busy crafting time for me?  Well it is.  Not only do I have my Halloween crafts, but my son’s birthday is shortly after Halloween.  That means that right now I am busy making invitations and party favors, all that fun stuff!  For this month’s eCraftshop Pro video, I decided to show you how to work with longer mat sizes in the software.  One of the great things about the eCraft is that even though it has a Roll mode, you can still cut longer pieces using Front mode or Tray mode.  Since the vinyl that I am using in this video comes on a roll that does not fit on the eCraft roll end caps, I decided to cut my vinyl and feed it through the front.  Works like a charm!

DSC_0080-1_edited-1

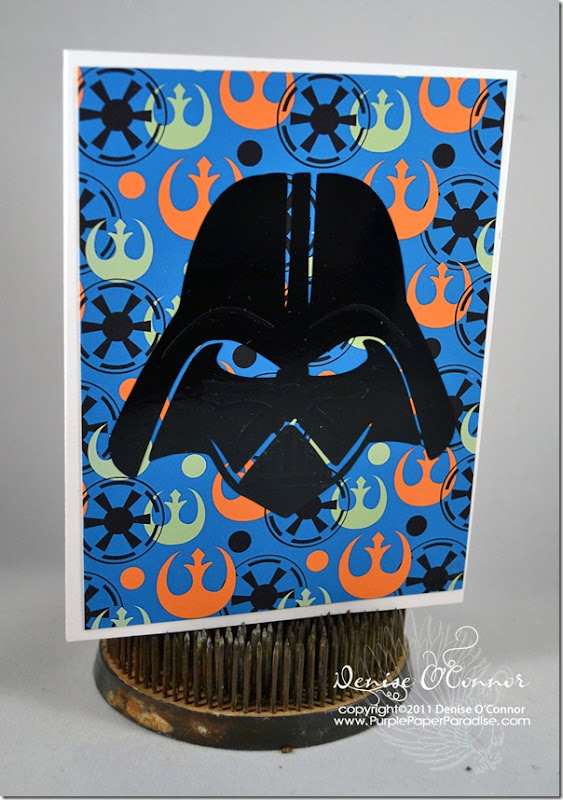
I used a glossy outdoor vinyl in black for the base layer of Darth Vader (which you will see me cut out in the video) and then if you look closely you will see that there are some accent pieces layered on top that were cut in a matte finish vinyl in black.  Very cool effect!  Works especially well for Darth Vader since his helmet is shiny!  The SVG that I used came from Katydid Creativity and Paper Adventures.  I did modify the file from a shaped card to one that would work for my purposes.  Also the background paper I got on Etsy from CocoaMint.


Hope you enjoyed the video!  And yes, in case you were wondering there will be more Star Wars stuff coming soon! 

Monday, October 17, 2011

eCraft Monday Design Team Project

Happy Monday everyone!  This week, the Design Team has been given free reign!  That’s right, we have each been tasked with making a project of our choice using the amazing Square1!  I am absolutely loving this material especially since it helped me out with a Halloween tradition here in our house!


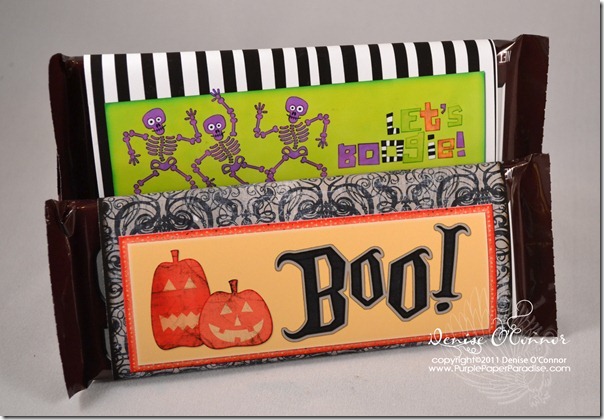
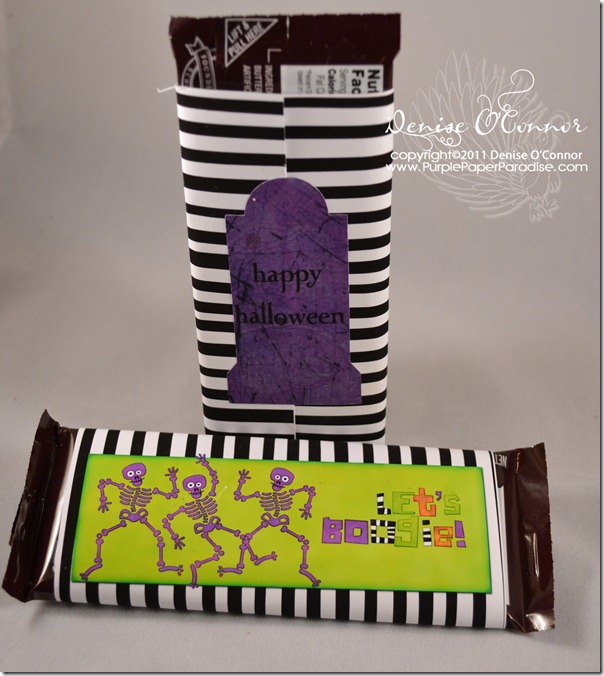
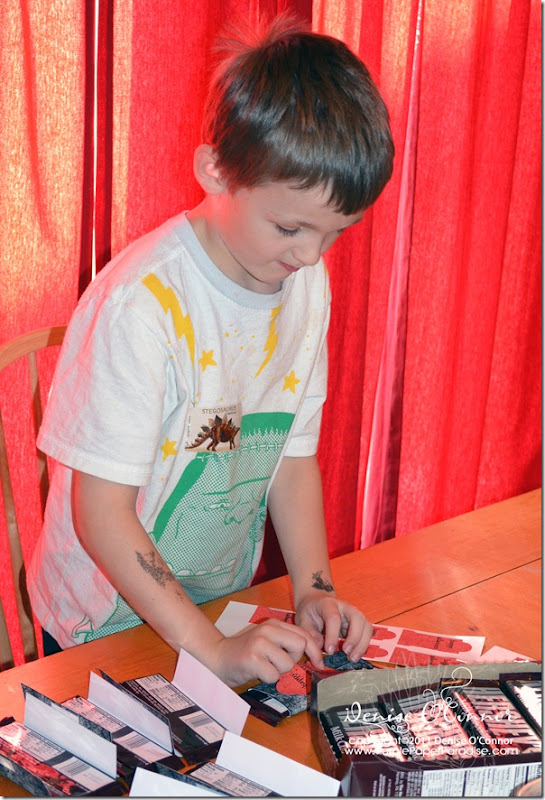
My eldest son, who is about to turn 7 is in LOVE with Halloween.  I asked him if he liked Christmas or Halloween better, and he could not decide!  This year marks the third year that we have “dressed up” our Halloween candy to pass out to the trick or treaters and of course to share with his friends at school. I always like to do this project so that he can help me with it!  He loves to help Mommy, but sometimes it gets too complicated for him.  This year, I decided to do something pretty easy so that it would keep his interest.  I did all the prep work ahead of time, and then invited him to help me with the assembly.  Here is what we did this year.


DSC_0078_edited-1


Now, you may be wondering how did Square 1 help with these simple candy wrappers.  Well it came in the seal on the back of the wrapper or the sticker as my son called them.


DSC_0079_edited-1


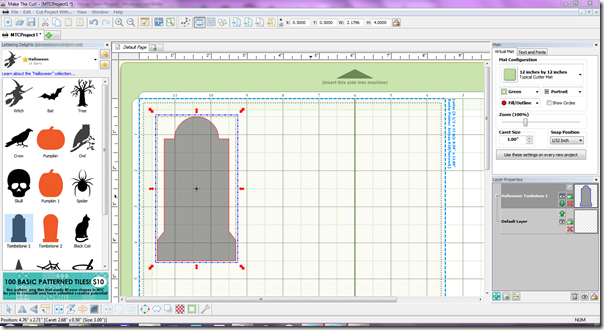
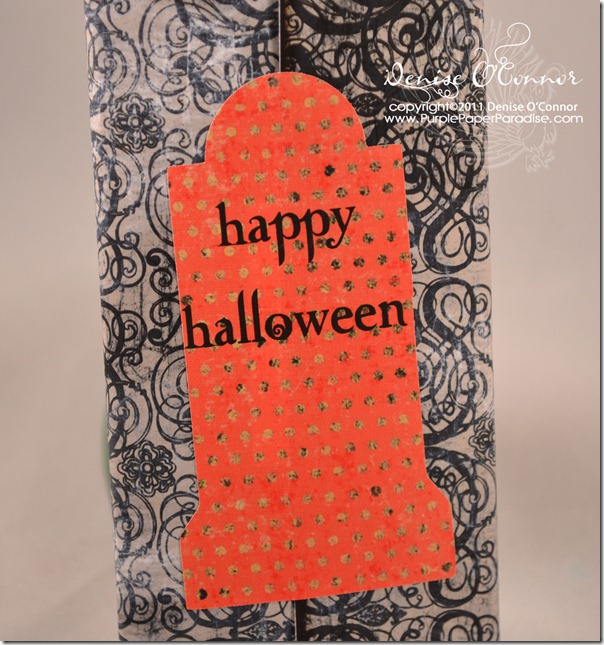
Let’s start at the beginning, I used an assortment of pre-made candy wrappers that I got from Lettering Delights and printed them all out on my printer and then trimmed them with my paper trimmer. Since I was making 72 of these candy bars, I wanted to keep it simple! Next I printed up some coordinating digital papers onto my Square 1 (I just LOVE how vibrant the colors are printed on this stuff!).  Next I turned to my Make the Cut and the Lettering Delights Halloween Cut-Its Set.  I selected Tombstone 1 and added that to the mat. 

Capture2_edited-1


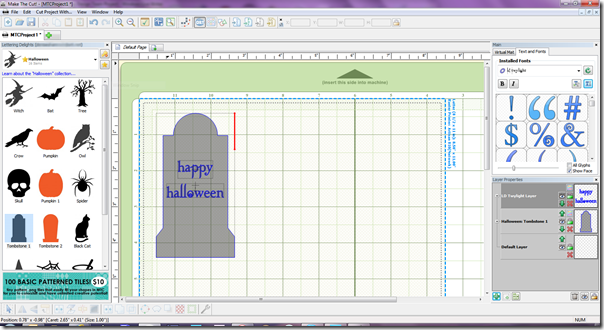
I next added some text to fit inside that tombstone.  The font that I used here is LD Twylight from Lettering Delights.


Capture3_edited-1


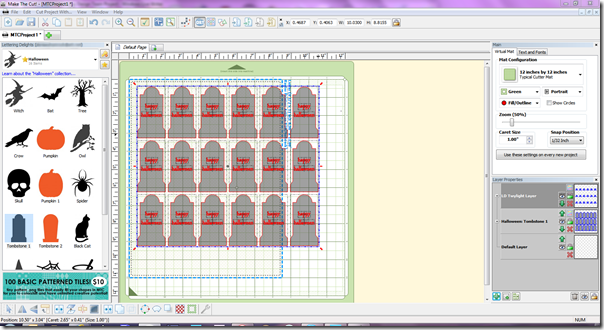
I then used the Duplicate feature to copy all those tombstones with the words to fill up the print area.  Next I deleted the ones that were outside of the print area.


Capture4_edited-1


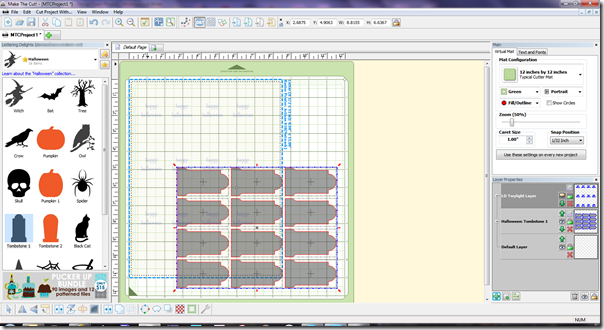
The next thing that I did was hide the tombstones so that only my text was showing on the mat and then I ran the Square 1 that I had printed my digital paper on through the printer again and printed the text on. After doing that,  I hid all the text and selected all the tombstones and rotated them so that they fit in the bottom right hand corner of my mat. 


Capture5_edited-1


Next I cut out my Hinge from the Print & Cut Hinge Method.  Once I had my Hinge in place, I lined up my Square 1 underneath it so that the tombstone shapes would cut around the words.  Since I had taken the time to line up all the text with the tombstones earlier, those dimensions were all in tact so that I could cut out all of my candy wrapper seals for that page in one pass.  I made extra careful to keep my hinge in place the whole time so that I could re-use it for each sheet.


DSC_0081_edited-1


Then it was time for the assembly and this is where the Square 1 really helped me out!  You see, I love doing these things with my kids, but I am also a perfectionist.  I wish it didn’t bother me so much that my son didn’t line up the “stickers” the way I would, but it does.  As my son was doing this, I was cringing in my head, but then I remembered that Square 1 is removable!  So guess what I did…whenever he put one on that was crooked or something, I would peel it up and re-stick it down to my liking.  You do need to be careful peeling it up off of paper, but it can be done! Crisis averted!


DSC_0073_edited-1


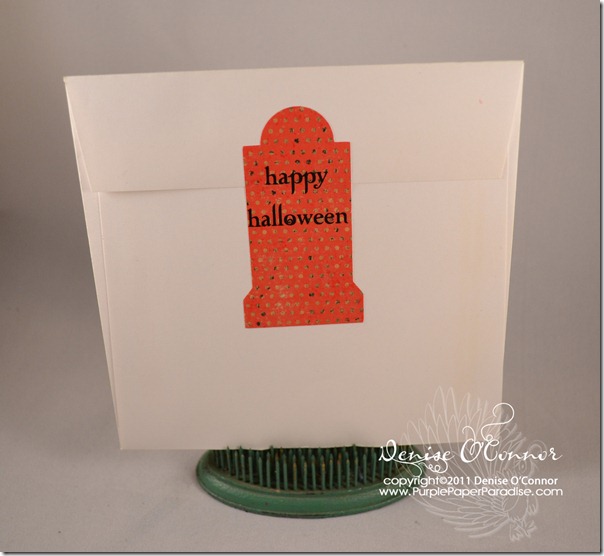
Another thing that dawned on me as we were doing this project is that since Square 1 is removable…it would make an excellent envelope seal!  So I just had to try it out, and it is wonderful!  You can open and close that envelope many times over!  Oh the possibilities!

DSC_0083_edited-1

Hope you enjoyed my project today and maybe it even inspired you a little to get the kids in your life involved with your crafting!  Be sure to go to the eCraft by Craftwell blog every day this week for more projects by Debi, Lisa, and Raven!

Tuesday, October 11, 2011

Make the Cut Video for October

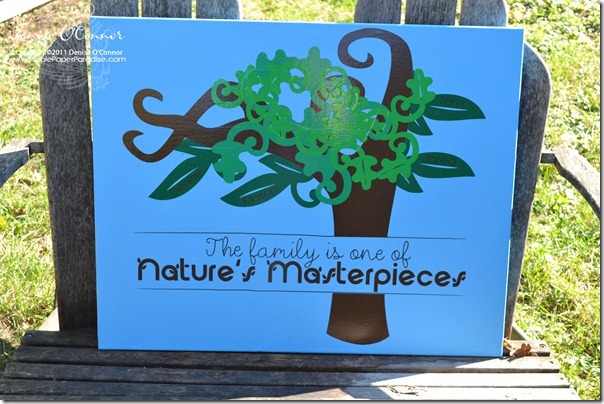
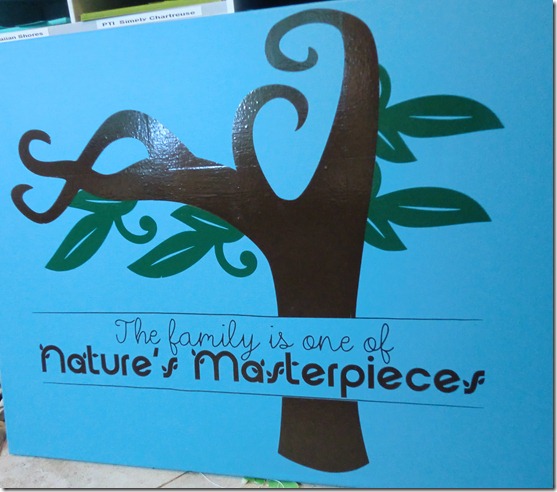
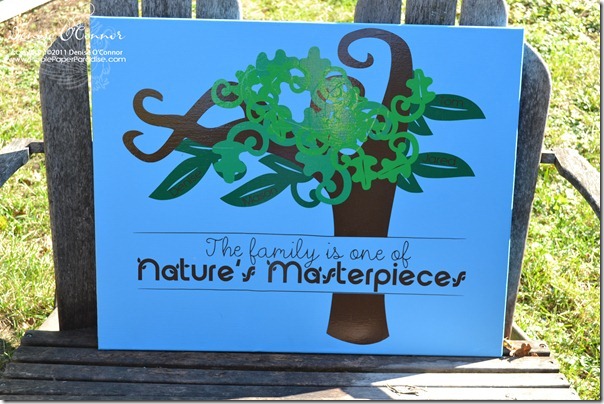
Hope you all are having a great week so far!  I am sharing with you today a project that has been in the works for awhile!  Today I am demonstrating how I used the Tiler feature in Make the Cut to cut the vinyl on this 30”x24” canvas.

DSC_0009_edited-1

This project was a lot of fun to do, but it takes quite a bit of time and patience!  It took several hours from beginning to end to complete it, so if you decide to do this, be prepared for that!  So now, on with the video!

Here are some pictures of the assembly process for you.


CIMG0790

Here you can see that I used some Crochet Thread to find my center point.  I would have used my hubby’s chalk line, but we could not find it, so I improvised.

CIMG0793

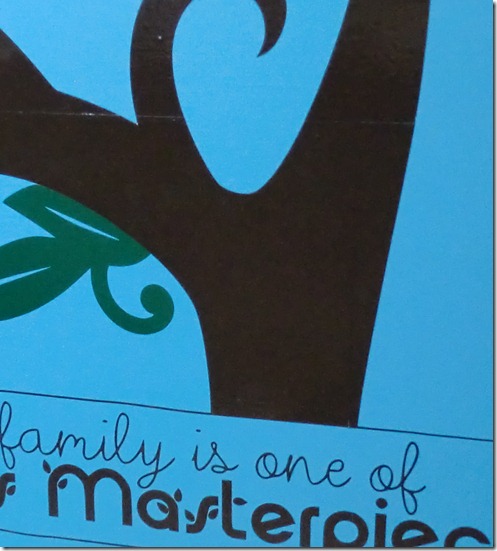
My center point was nestled in that flourish on the leaf and so I cut that leaf first.  I then went back and did all the brown so that I had a good foundation for the rest of the design.  Once I had that green leaf in place, I was able to remove the crochet thread.  If you look closely, you can see the seam going through the tree in this picture.  Most of this seam will be covered up later by the leaves.


CIMG0794

Here is a shot of all the brown and dark green in place.


DSC_0011

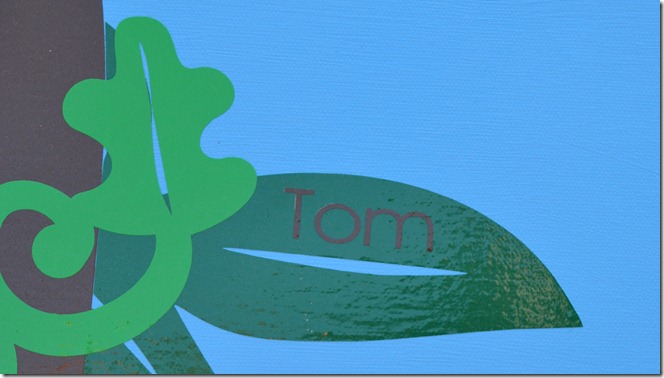
Here is a close up of one of the names on the leaves.  If I had to do this project again, I think I would have used the kelly green color that you see in this picture as well instead of the brown so that the names stand out a little more.  Even though this is a large scale design, these names are actually pretty small.  Overall I am very happy with this project and it will last me many years!

DSC_0009_edited-1


Hope you enjoyed my project today and I will be back with another video tutorial on the 20th using eCraftshop Pro!

Monday, October 10, 2011

eCraft Monday Design Team Project

Happy Columbus Day!  It is time for another eCraft Design Team post.  If you are not following the eCraft by Craftwell blog, by all means start!  My fellow Design Team Members are amazing and I am sure that you will all be inspired by them.  Also, I will be back tomorrow with a new Make the Cut video!

This week, we are again using the awesome Square 1 printable, removable, fabric to create projects incorporating leaves and/or pine cones. When I think of leaves and pine cones, my mind tends to go to Thanksgiving when the beautiful fall colors are still out there and the Christmas season is right around the corner. I decided to do a super easy project for you with Thanksgiving in mind that packs a punch.

clip_image001

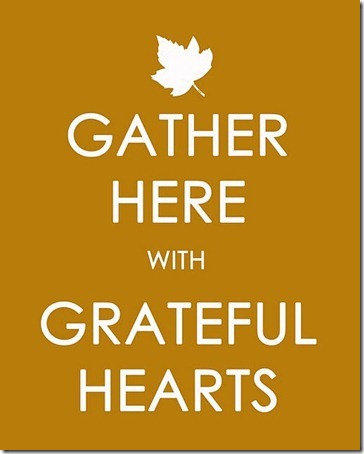
My inspiration for this project came from this picture on Pinterest

clip_image002

Source: myblessedlife.net via Denise on Pinterest

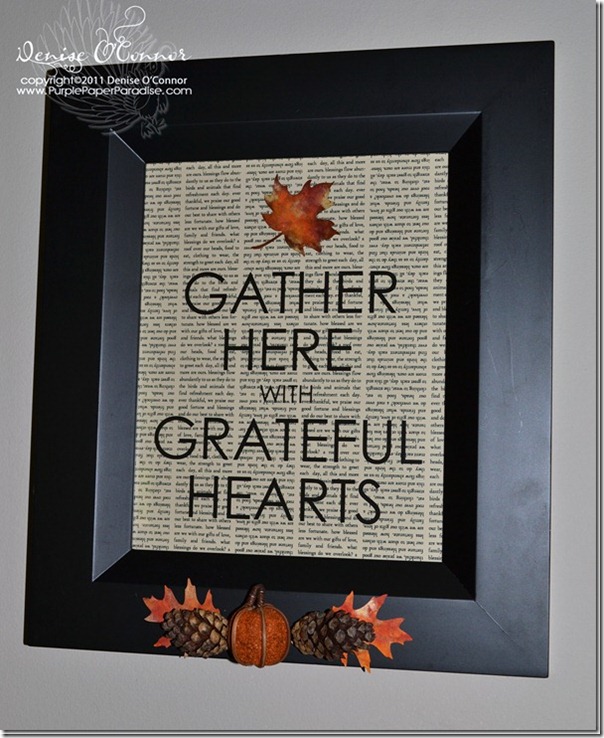
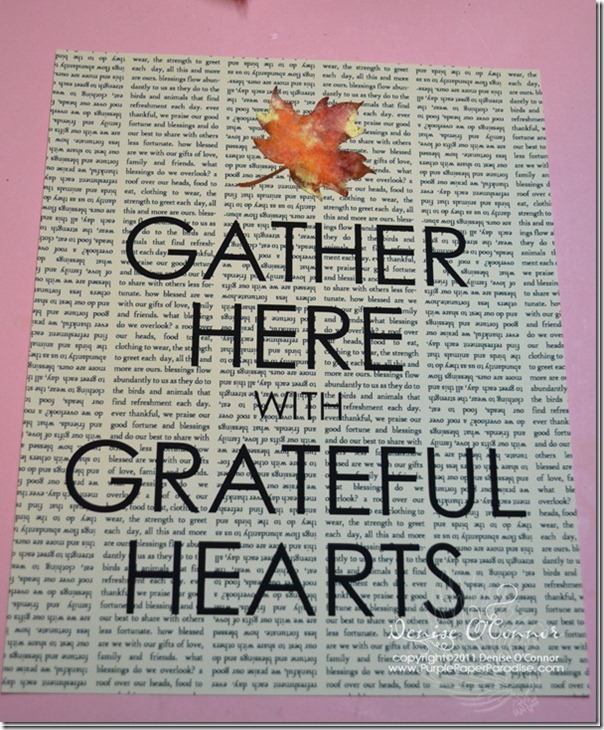
I love the saying and the fact that it is like the “Keep Calm and Carry On” style but with a Thanksgiving twist was just the ticket for my project. To start, I used a digital paper from Scrap Girls that is a text background, and I just knew I had to use it because the text on this paper is all about blessings. Perfect right? I then printed that out and then went back and added my saying on top of it using Century Gothic font. After I did this, I realized that I could have done this all in one step if I used my Photoshop Elements, but it certainly isn’t necessary.

I then turned to my trusty Square 1 and using the leaves found on the eCraft Fundamentals 1 SD card, I cut out a few of each. I did a “kiss cut” on the Square 1 like you would do for vinyl.

clip_image003

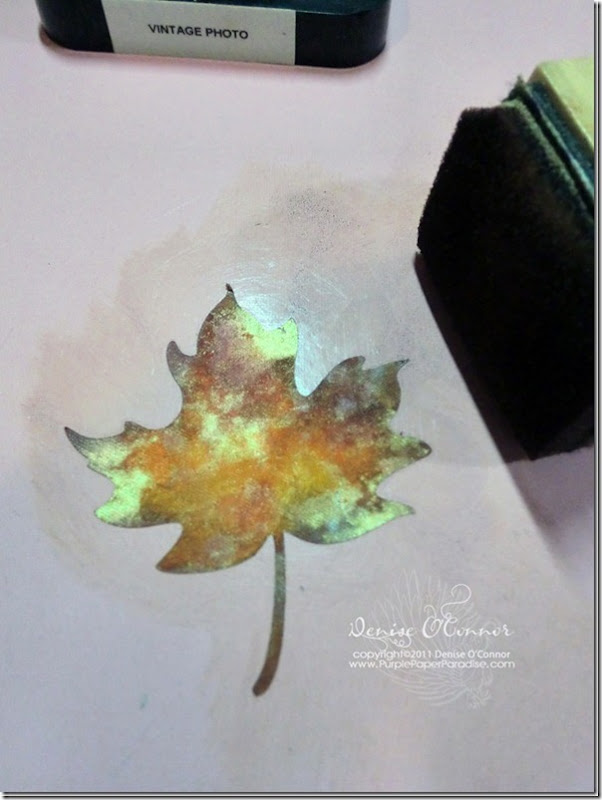
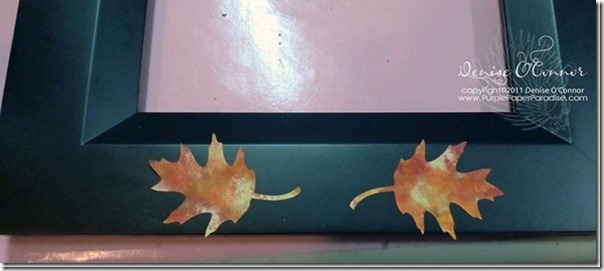
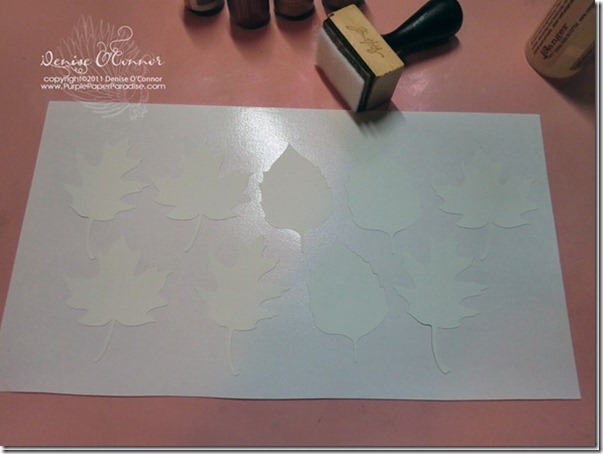
Since Square 1 is a printable material, I took a gamble here that I could color the leaves myself. I had GREAT success using alcohol inks. I added a bunch of autumn colors onto a felt pad using my ink blending tool and then dabbed them on the Square 1. I then went back and added some Gold Mixative and a little Alcohol Blending Solution to come up with the gorgeous colored leaves. The picture shows them when the inks were still wet. It only took a few minutes for them to dry.

clip_image004

I wanted to make sure that the leaf that was on my digital paper did not get lost on the page, so I took my leaf and placed it down on my non-stick craft mat and gently inked the edges with Vintage Photo Distress Ink.

clip_image005

One of the wonderful things about Square 1 is that the adhesive is removable so I was able to very easily remove it from my craft mat and place it on my digital paper.

clip_image006

Here is a close up for you!
clip_image007

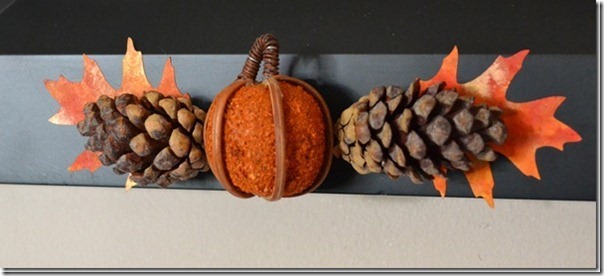
I then grabbed a black picture frame that I had purchased last year during a crazy ridiculous sale and decided that a touch of embellishment on the frame would just add a little something special to this clean and simple project. I used some of the other leaves that I cut out of Square 1 and colored with alcohol inks and placed them right on the frame.

clip_image008

Again, since they are removable I was able to position them just right so that they peeked out from under the little pumpkin and pine cones that I added on top with some Glossy Accents.

clip_image009

Every week, I am loving Square 1 more and more. It is so versatile! Hope you enjoyed my project today! I promise next week, I will have another Halloween project for you!

clip_image001[1]

Supplies & Other Directions:

Black Picture Frame

Matte Photo Paper printed with Digital Paper and saying (Digital Paper from Scrap Girls and font used was Century Gothic)

Square 1

eCraft (used a pressure of 2 1/2, blade cap on, tabs off to get the kiss cut on the Square 1)

Alcohol Inks – I used Adirondack Alcohol Inks in colors Butterscotch, Sunset Orange, Latte, Cranberry and Caramel, Gold Mixative and Alcohol Blending Solution on a felt pad with the Ink Blending Tool.

Friday, October 7, 2011

eCraft Design Team Video

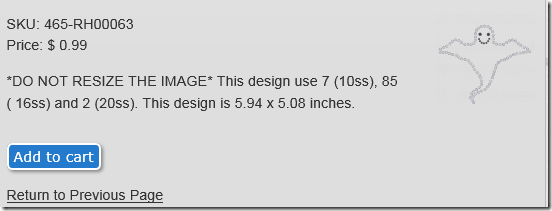
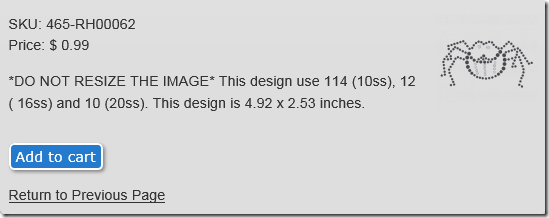
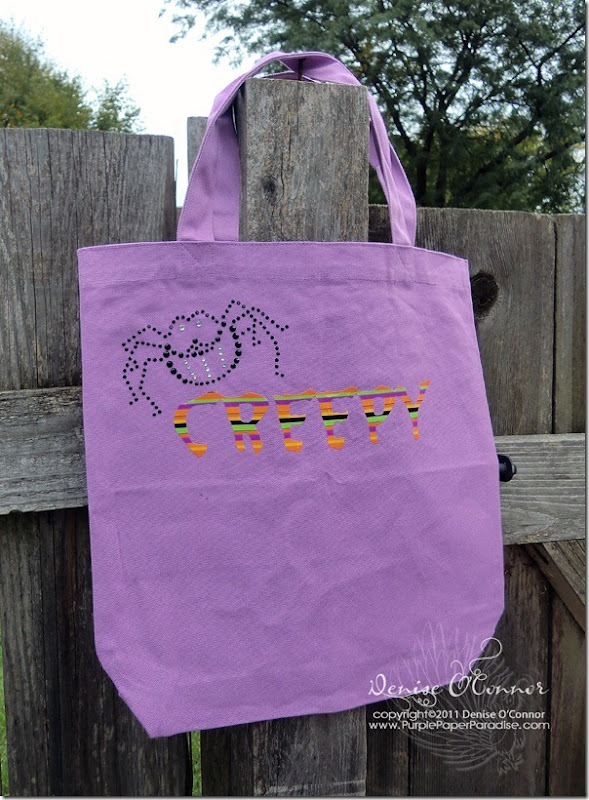
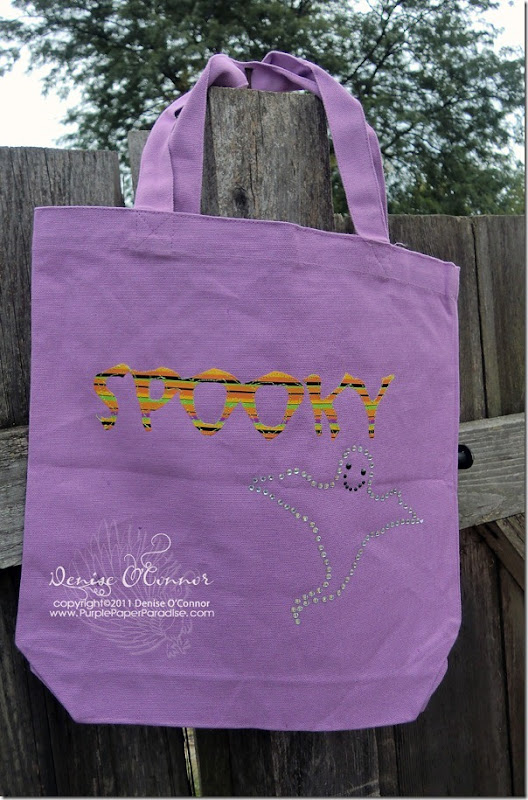
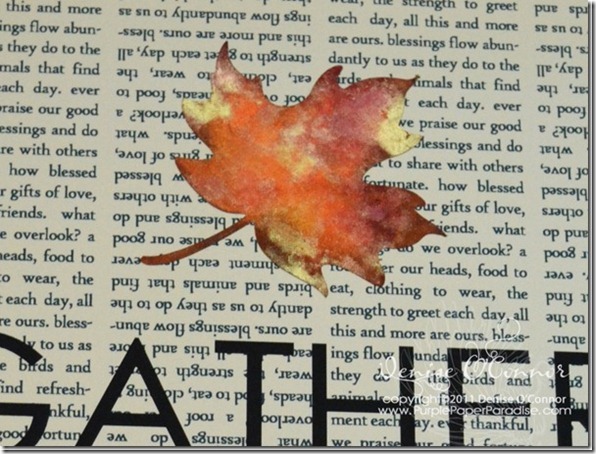
Today is my turn to do a eCraft tutorial video for all of you and since this is my first video on the eCraft by Craftwell blog, I had to do something extra special!  Does anyone here like BLING?….WOW!  That was a resounding Yes!  Did you all know that you can cut Rhinestone patterns with your eCraft?  AND that there are several Rhinestone patterns available for purchase on eCraftCentral.com?  If you are in Halloween mode like me, then make sure to check out the rhinestone patterns that I used in my videos. 
Ghost Rhinestones
The Ghost can be found HERE and the Spider can be found HERE.
Spider Rhinestone
Never done rhinestones before?  Don’t worry because I take you from beginning to end so you can follow along with me!


CIMG0774

CIMG0776
Isn’t it amazing how a few rhinestones can really dress up an ordinary tote bag?  You can add them onto almost any kind of fabric that you can iron.  Oh and I should probably mention that eCraftCentral.com also has some rhinestone patterns already released for Christmas!!  My mind is already coming up with all sorts of ideas for those!   Hope I inspired all of you to create something wonderful this weekend and I will be back here on the eCraft by Craftwell blog on Monday with another project for you using the awesome Square 1!

Monday, October 3, 2011

eCraft Monday Design Project

I hope all of you are in for a fun week of crafting!  This is the first week where your eCraft Design Team will be presenting projects utilizing not only the eCraft, but a special sponsor for the month!  This month our sponsor is Square 1.  Now, I will admit that I had not heard of Square 1 when we were first told that they were our sponsor, but I was immediately intrigued by this product.  Square 1 is a printable, removable adhesive fabric!  This is an amazing product, and even though it is a fabric, it is a lot like vinyl.  For this month, all of us are going to utilize this fantastic product and show you lots of ways that you can use Square 1 and your eCraft to create to your heart’s content!


This week, we are using Square 1 and our eCrafts to create something using the colors Orange and Purple.  Ahhh!  Purple…no problem for me!  When I think of Orange and Purple together, of course I think Halloween.  Halloween is a very big deal in our house, my kids look forward to it just as much as Christmas.  We actually already have our costumes and everything.  For this week’s project, I decided to show you how to use Square 1 instead of cardstock on your layered cuts.  Sometimes when using cardstock, the layers become so thick that it can be distracting.  This is not the case with Square 1! 


Since Square 1 is printable, I knew I wanted to use the Print & Cut Hinge Method with the vegetable cutting mat.  You can find a video that I did on this method HERE on my blog Purple Paper Paradise

CIMG0767

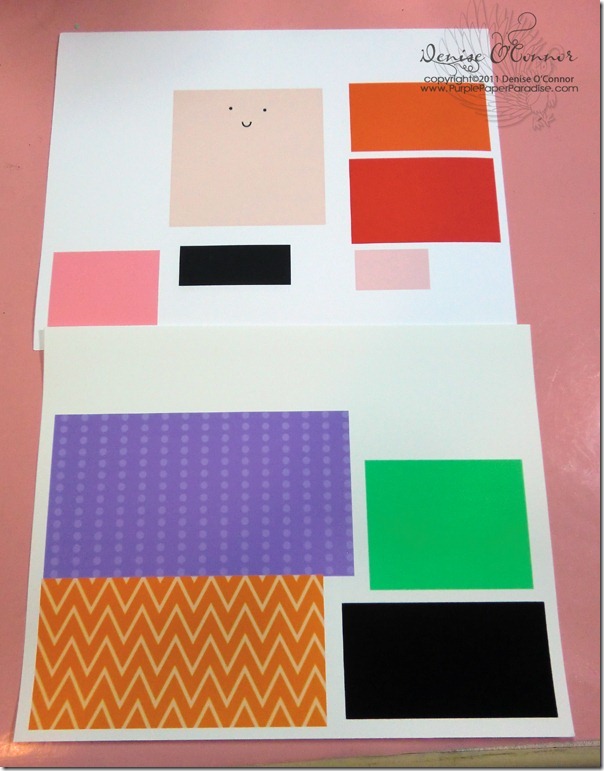
I also knew that this would be the perfect time to play with the new Printable Tiles from Lettering Delights, so in Make the Cut, I set up blocks of the colors and patterns that I wanted to use and then laid my cut layers on top of these blocks.  First, I printed out the blocks without the cuts (except for the witch’s face).  One of the sheets shown below is printed on Matte Photo Paper and the other is on Square 1.  Can you tell the difference?  The print quality of Square 1 is amazing!  The colors are so vibrant!


CIMG0757


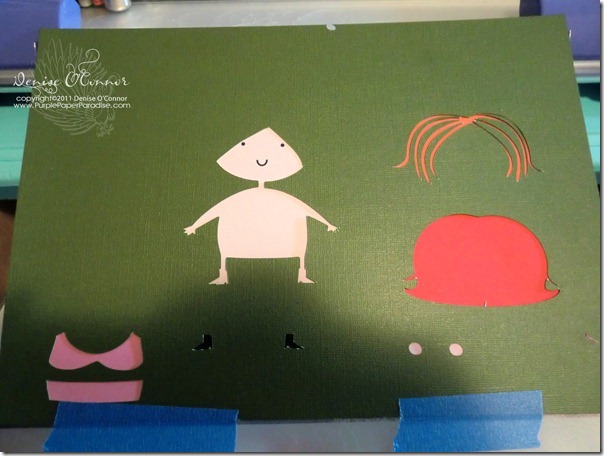
For those of you wondering, the bottom sheet is the Square 1.  I then used the Print & Cut technique and cut out my shapes in some spare cardstock and then placed my print sheet underneath it to get it ready to be cut.


CIMG0758

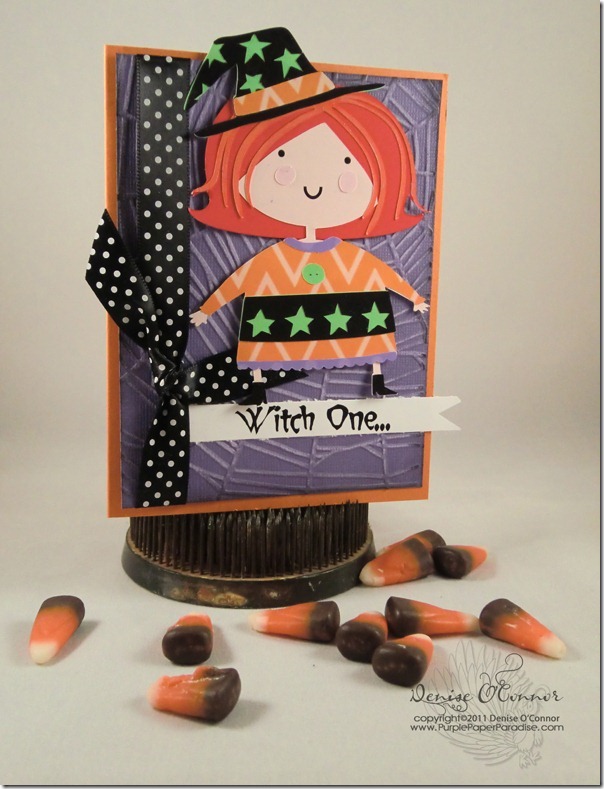
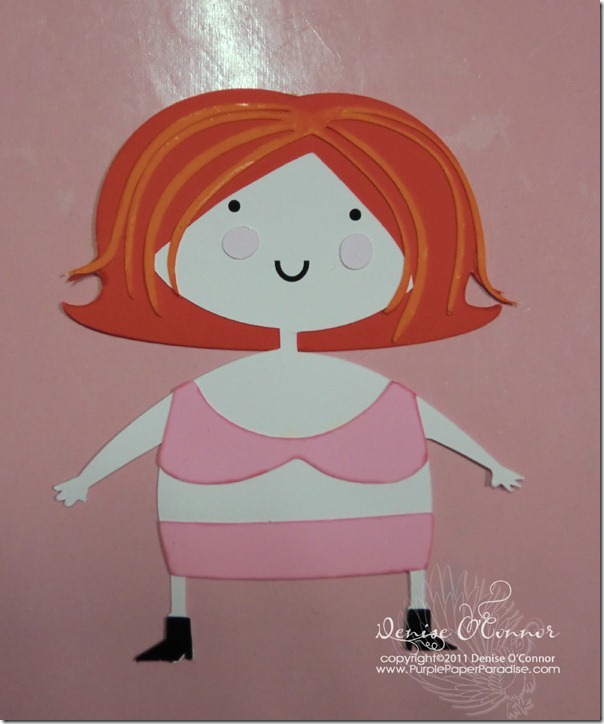
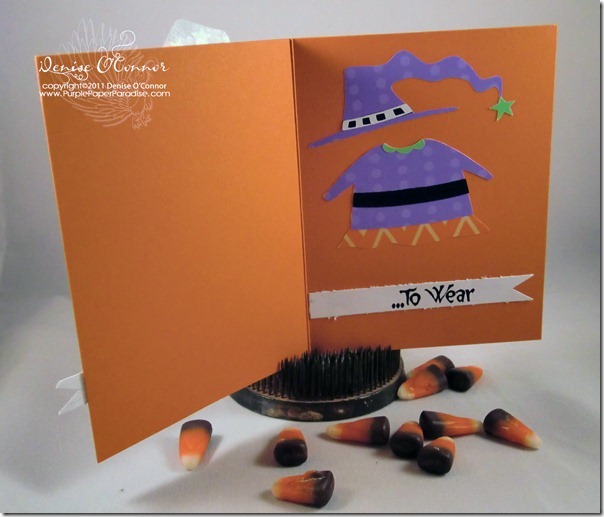
This color blocking technique works really great for this because there are no white edges!  Here is my witch all assembled (underwear and all!).  Isn’t she cute?  Even though, I will be covering her up, I decided to add the underwear because Square 1 is removable which means that she may change her clothes and I wouldn’t want her to expose herself!


CIMG0760

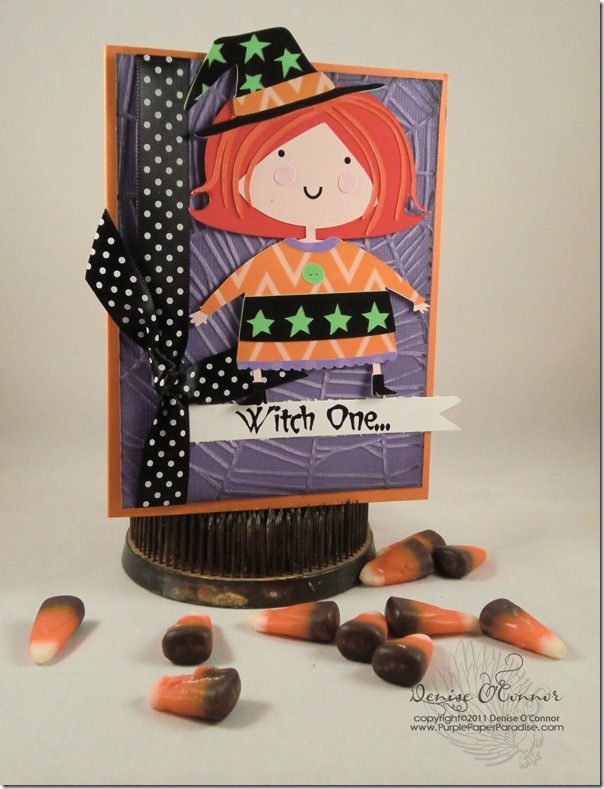
Now it is time to get her dressed!  I cut out my Square 1 the same way I did the paper layer to make her a couple of outfits to choose from.

CIMG0767


CIMG0766

Now she has a few options for Halloween! It’s hard to see in the pictures, but the texture on the Square 1 really makes realistic looking clothes and adds that extra something special!

Hope you all enjoyed my Orange & Purple creation this week using my eCraft and Square 1, and make sure you come back here everyday this week to see what Debi, Lisa and Raven have!  I know that I am looking forward to seeing what these talented ladies have in mind for this week!  Also, on Friday, I will be back here on the eCraft by Craftwell blog with a whole new video!  If you like bling, you don’t want to miss the video! 


Supplies:

eCraft (of course!)

Square 1 printable removable fabric

Matte Photo Paper (for the witch body and the printed banner sentiments using Slap Happy font)

Papertrey Ink Orange Zest cardstock (card base)

Core’dinations cardstock (purple background) embossed with a spider web embossing folder and sanded down.  Inked edges with Distress Ink Black Soot

Lettering Delights Witch One Cut Its Set with Basic Tiles for the orange and purple patterned layers

Papertrey Ink Black Swiss Dot Ribbon

Copic Markers for inking edges of witch

Saturday, October 1, 2011

October Sure Cuts A Lot 3 Video

Happy October fellow crafters! I don't know about all of you, but October is the very start of my heavy crafting season! Between Halloween, Thanksgiving, and of course Christmas, I am going to be one busy crafter and I LOVE it!

Today's SCAL video is all about making shaped cards. You have seen me do this in Make the Cut a few times, and today I show you how to do it in SCAL. Hope you all have a great day...oh and don't forget it is World Cardmaking Day today so crank out some cards!


Related Posts Plugin for WordPress, Blogger...