A couple of weeks ago, I was looking through my hubby's tools looking for something and I came across this laser level. I had completely forgotten that he had it, and to my knowledge, I don't think he ever really used it. So I snatched it!
I decided that this would be perfect to make sure that my vinyl lettering was straight. I do not do well with eye balling this kind of thing! After looking at this particular model, there are two pins that eject from the base and those pins go into the wall to hold it in place. I tested this in a closet because I wanted to see the holes that were left behind. I was right to do this, because these holes are noticeable, and when next to a wall art piece, they would bother me. I don't know if this is how all laser levels work, but I certainly did not want to spend money on another. So I had to come up with a different method.
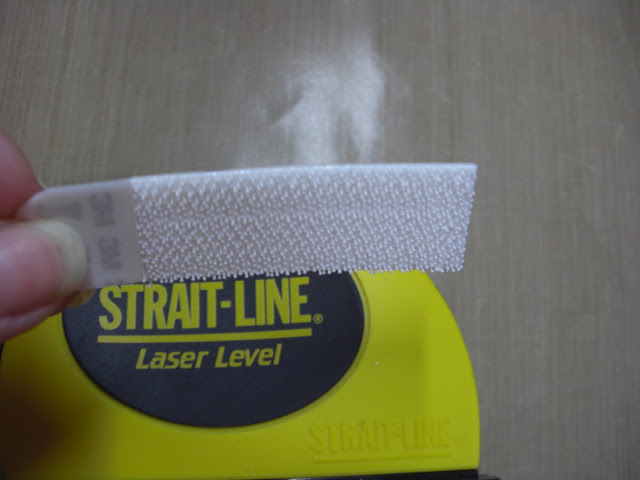
I found some Picture Hanging Strips made by 3M with the Command adhesive. This is the same adhesive that is used on those hooks where you just pull down on the tab and it releases cleanly from the wall. The Picture Hanging Strips are different in that there is no hook, each piece is like a piece of plastic Velcro. They are used so that you can hang pictures on the wall by attaching the strips onto the back of the picture frame. I took one of these strips and attached it to the base of my laser level.
I then took another strip and inverted it so that the two Velcro like sides are touching. When you push the strips together they kind of lock into place, and you can actually hear a snapping sound.
I then removed the protective paper off the strip and took it to the wall. I used the level to make sure it was straight, and when it was I just pushed the laser level to the wall and applied some pressure to make sure I got some good adhesion. The laser level stayed perfectly in place!
I then turned on the light and proceeded with applying the vinyl. Another tip, when you are done only remove the strip from the wall. The strip that is on the laser level can be re-used over and over, so there is no need to remove it.
This picture only shows part of the wall art piece. I still have more to do on it, but I will share it when I am done.
Thanks for stopping by and if you are new to my blog, you can sign up for the GIVEAWAY here!
Subscribe to:
Post Comments (Atom)


2 comments:
OMG! I have on of those that I got for free somewhere and I never thought of using it for that! Great idea.
A couple of weeks ago, I was looking through my hubby's tools looking for something and I came across this laser level. I had completely ... llaserlevel.blogspot.com
Post a Comment