Tuesday, February 28, 2012

HSN & eCraft News!!


Craftwell has been invited back to HSN to show off the eCraft!  They asked me to put together a little project to display on the show and they have posted some sneak peeks of it on the eCraft by Craftwell blog today!


The HSN showtimes are listed on that post too!  If you have not gotten an eCraft yet, definitely tune in because on their last airing a few weeks ago, they had a great deal!

Monday, February 27, 2012

eCraft Monday Design Team Project


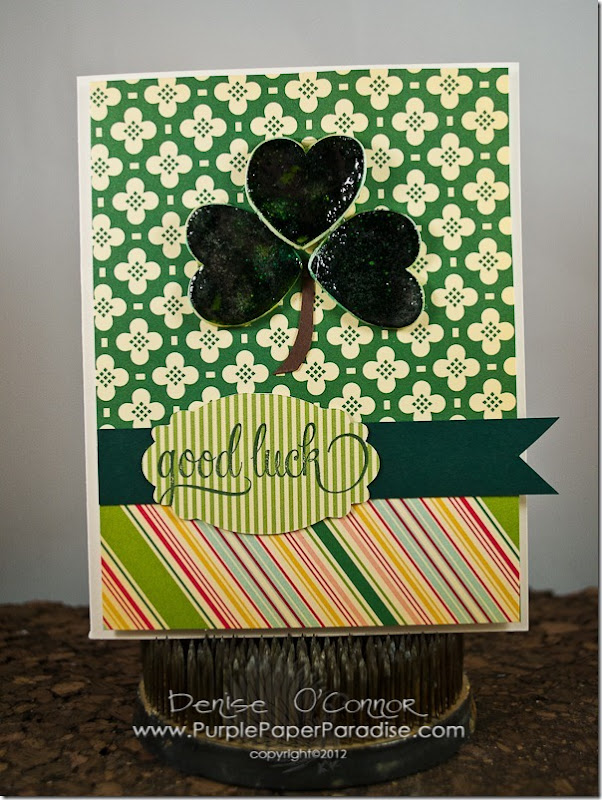
Today I get to introduce to you our new sponsor and the two products that we are going to spotlighting this month. Print On It carries these products and lots of other great materials that are perfect for cutting in your eCraft.  For today’s project I am working with their Bake & Shrink.  My inspiration for today’s project came from the Shamrock Shake at McDonald’s…I know crazy right?

20120223-DSC_0003-1

To start with, I cut 3 hearts from the Fundamentals 1 SD card at 3”.  To do this I used a pressure of 6, blade cap on, no stabilizer.  Now, since this material can be colored, I decided to try it out with my Adirondack Alcohol Inks.  I forgot to get pictures of this part, but I used lots of green colors and dabbed it on with my Ink Blending Tool and a felt pad.  One thing I discovered pretty quickly is that you want to let the ink completely dry before going over it again as it could lift up the finish.  I also would use mostly light colors when coloring this because it turned out a lot darker than it was before shrinking.


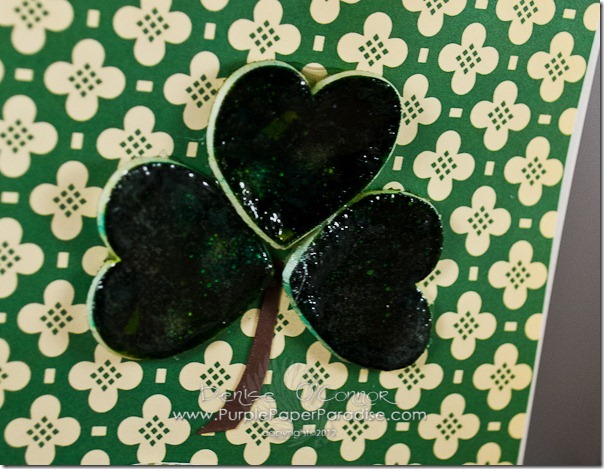
I decided to try a technique on this product that Tim Holtz showed us in one of his 12 Tags of Christmas (2011, Tag #11).  He did a great video on how to do this with Shrink Plastic, so of course I had to see if it would work with the Bake & Shrink and….wow!  This is such a cool thing to do, and I love how the melted UTEE gives my hearts a little shine to them.


To finish off my card, I used some patterned papers from October Afternoon (Modern Housewife) and some Papertrey Ink Pinefeather cardstock along with their Script Sentiments stamp set and Pinefeather ink.  The label is from Lettering Delights Felt Owl Right.  The stem of my shamrock is hand cut from brown cardstock.  Love how I can make my own card embellishments with the Bake & Shrink.

20120223-DSC_0004-1

The picture really does not do it justice!  Go to the eCraft by Craftwell blog everyday this week to see what the other Design Team ladies are working with and what they have created!

Monday, February 20, 2012

eCraft Monday Design Team


Color Blocking is all the rave right now in fashion.  Here is a picture from Pinterest to give you an idea of what I am talking about.


So, I thought what a perfect effect for us paper crafters to apply to our projects!  Now, our lovely sponsor Unity Stamps sent me the Going Retro stamp set which is just PERFECT for this technique.  I also was inspired by our other sponsor eCraft Diecutable Cardstock from the Paper Mill Store.  When they sent us our paper, they also sent us a little swatch book that has a small sample of each color of paper.


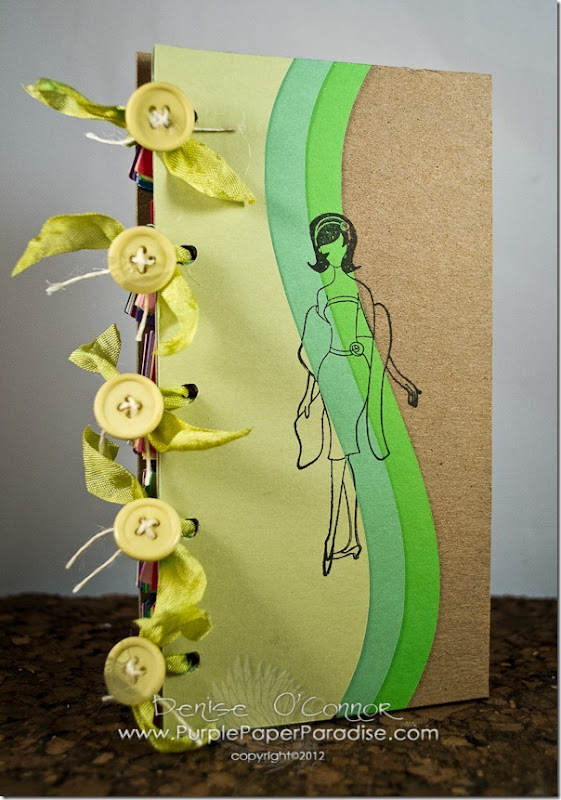
Well, that little swatch book has gone everywhere with me and it is wonderful!  With this little gem, when I am at a store and wonder if that ribbon will match…all I have to do is pull that little number out of my purse.  I decided to expand on this little idea of a swatch book and create an expanded version so that I can come up with color combinations on the fly. 
 

20120216-DSC_0001-1


I get inspired by color all the time so I figured if I have something that will help me see all the colors together I can create color combinations on a whim.  Just the other night, I came up with a new color combination while I was waiting for my son to finish up his karate class because I had this handy.


Here is how this works…
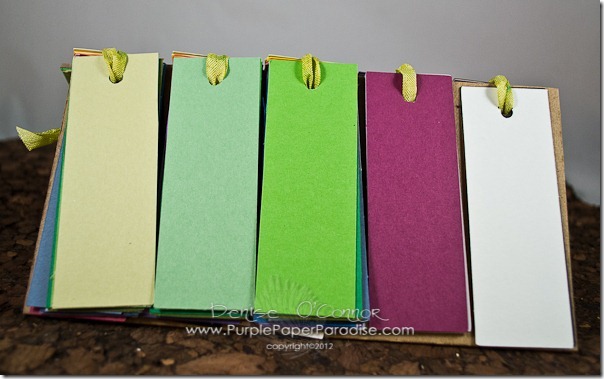
 

20120216-DSC_0003-1


The colors shown here are Lemongrass, Mint, Key Lime Pie, Purple Cabbage, and White Flour.  I will certainly be making something with this color combination soon!


So now, how did I create this little gem?  Well I have made it super easy for you.  Below is a link to download the SVG files for this project!


I cut out the Insert file on each of the 26 colors of eCraft Diecutable Cardstock. I used a pressure of 4 on a veggie mat. Then I cut out the cover to use as a template because for this project I made I wanted to use a really thick chipboard.  This chipboard is more than 1 mm thick so it won’t fit in the rollers of the eCraft for cutting.  I also cut out my 3 color blocking layers in Key Lime Pie, Mint, and Lemongrass.
 

20120216-DSC_0001-1


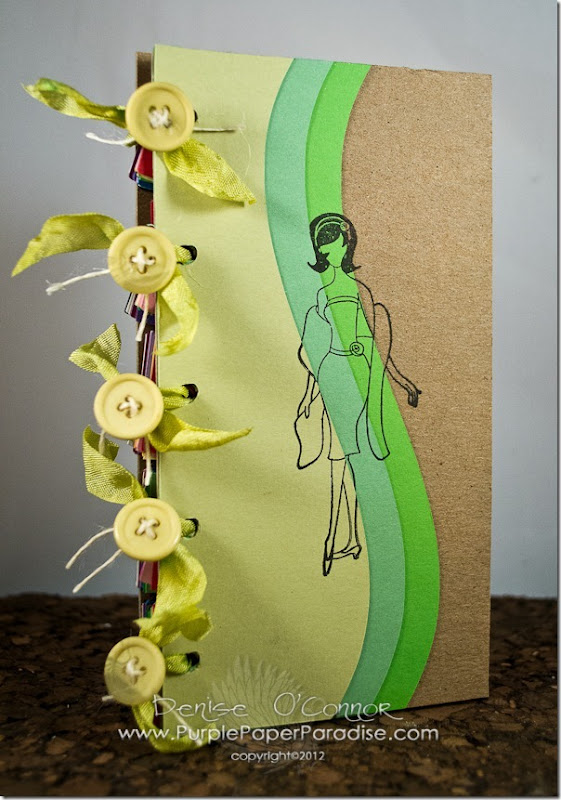
Now it is assembly time!  I used my Stamp-a-ma-jig (available at Michaels) to stamp my lovely lady on the chipboard cover and all three color blocking layers in the exact same place.  I then used Scor-Tape to adhere each layer of the color blocking layers onto the chipboard cover.


Then I threaded some handmade crinkle ribbon through both covers and the inserts and tied off each section of ribbon.  I topped them each off with a coordinating button threaded with some rustic twine.


I just LOVE this color blocking look and thought that all of you might want to see how I created it, so here is a little video for you!


Now, the next time I find inspiration I can pull this little number out of my purse and put together a color combination.  It really helps to see the colors right next to each other so you will know that they work before cutting.


Have a great week everybody!  Oh, and before I forget HERE are your free SVG files so you can duplicate this project!

Wednesday, February 15, 2012

Did you miss seeing the eCraft on HSN?

Well if you did, you can still see it through the beauty of You Tube.  This was the final showing of the day and you will see some of those projects that I made in the video.


Also, the special price and the flex pays are STILL available!!  The only thing that has changed from what I can see is the Shipping & Handling increased to $15.25 which is still a fair price.  You can order it HERE.

Monday, February 13, 2012

It’s Party Week on the eCraft Blog!


Let’s Party like it is 2012!!!!  Today I have my Party Décor Challenge project up on the eCraft blog and since tomorrow is Valentine’s Day, I couldn’t help but make a Love Themed Project!  Here is a little sneak peek for you…

DSC_0010-9

Head on over to the eCraft by Craftwell blog to see the entire project and instructions.  You can find my post HERE and while you are there, make sure you follow the blog so that you can see the amazing projects that Debi, Lyssa, Raven and Jennifer have for you all week long!  This is going a super fun week and you don’t want to miss a thing! Winking smile

Sunday, February 12, 2012

Finished with my Valentines!!!


I finally managed to finish up the Valentines for my son’s class and his teachers.  Let’s roll….

20120212-DSC_0009-1

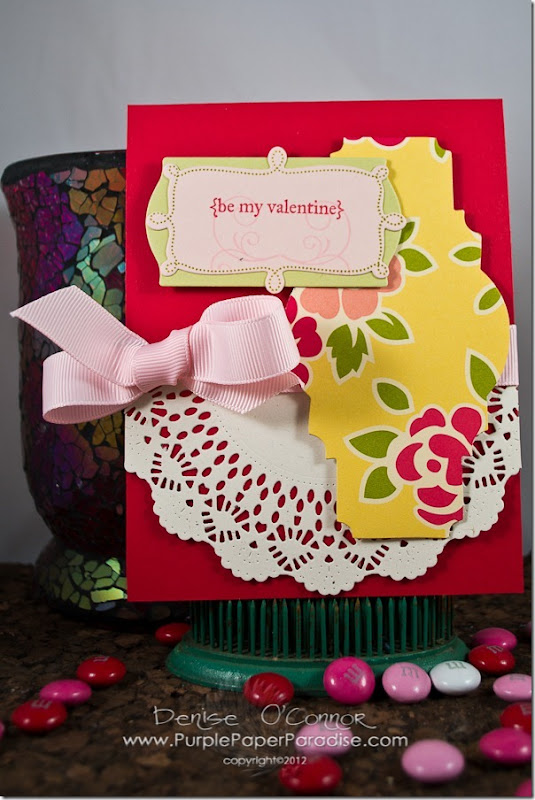
First, his teachers….I used a red cardstock base (folded at the top).  I added half of a My Favorite Things High Tea Doily (thin metal dye cut) to the front and tied some Papertrey Ink Sweet Blush ribbon in Grosgrain around the exposed edge.  Then I used a Tim Holtz Stylish Label cut from October Afternoon patterned paper directly on top.  To finish it off, I added a double layered die cut.  Papertrey Ink Sweet Blush cardstock and Spring Moss cardstock cut with some of their Fillable Frames dies.  I added some stamping on there from Papertrey Ink’s Fillable Frames and Fancy Flourishes.  Next stop the kids…


20120212-DSC_0002-1

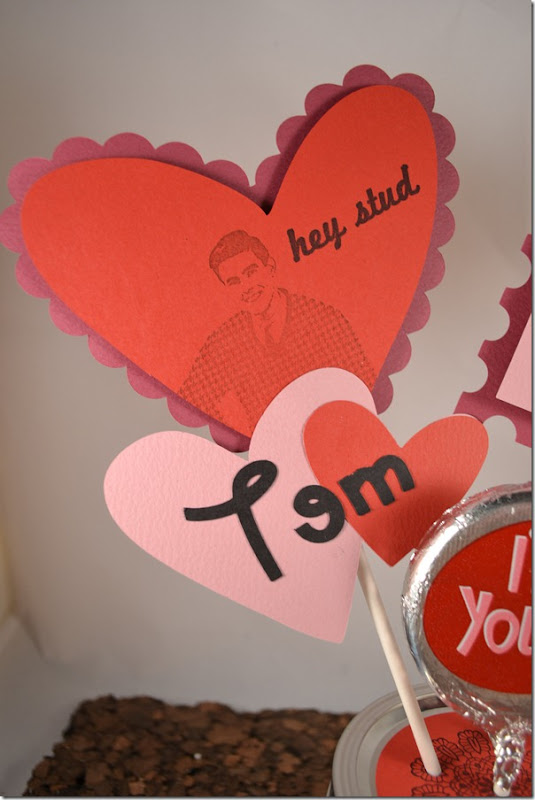
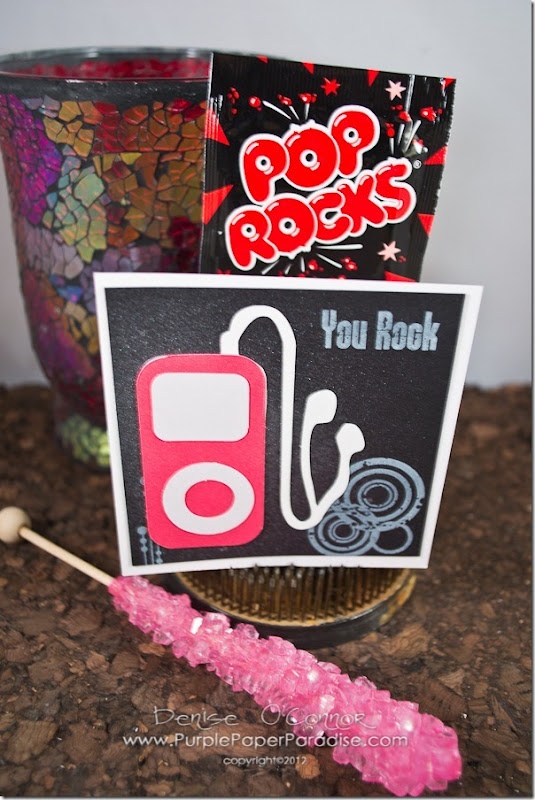
YOU ROCK!!!  When I saw the IPod die cut on the eCraft Entertainment SD card, I just knew I had to use it.  Using eCraftshop Pro, I altered the file to fit the look that I was going for. Then I went to cutting.  Using the eCraft Diecutable Cardstock from Paper Mill Store, I set the file up to cut multiples.  Then it was assembly time.  These valentines measure in a total finished size of 3 1/2 x 3 1/2 so that they could fit into some 4”x4” envelopes that I had leftover from another project.  The sentiment and grungy elements are from Papertrey Ink’s Grunge Me stamp set and stamped on black in their  Fresh Snow ink.  I also added a spritz of Perfect Pearls mist to the black card front.  Now to go with these valentines are of course some ROCK candy and some Pop ROCKS!  Pun completely intended.

Thursday, February 9, 2012

OVER THE MOON!!!!


Did you catch the HSN premiere of the eCraft today????


I am so excited because several of my projects were seen on the show!  By the way, in case you missed it, the eCraft is being offered for $189.95 and only $5 shipping!!  You can also get it on flex pay (5 payments of $37.99)  That is a deal!!!


Since so many of my projects were displayed today, I thought…way not take a stroll down memory lane!  Here are the projects that I spotted!


image

The original post can be found HERE!

image

The original post can be found HERE!

image

The original post can be found HERE!

image

The original post can be found HERE!


image

The original post can be found HERE!

image

This is the banner that was displayed on the front of the table at HSN!  The original post is HERE!

image

image

These two boxes were posted originally HERE!

image

image

These two cards were originally posted HERE!


Thank you for taking this little trip down Memory Lane with me!!

Tuesday, February 7, 2012

eCraft on HSN!!!


Just a quick announcement today….eCraft is going to be on HSN!!!!  That’s right, whether you have an eCraft or if you are still mulling it over…you can check it out on HSN this Thursday February 9th!  There will be projects shown (maybe even some from yours truly….I don’t know, you will have to watch to see!) and I am sure there will be lots of good info.


The scheduled times are 1AM, 11AM, and 7PM (all EST I think) this Thursday so make you set those DVRs if you can’t watch live!!!

Monday, February 6, 2012

eCraft Monday Design Team Project


Did you all survive the Super Bowl?!?!?!?  I hope so, because I am so excited to share my latest Design Team project with you!!

DSC_0033-3

To see the entire project go HERE for a full run down!  While you are there, make you that you are signed up to follow the eCraft by Craftwell blog!!!  Just this past weekend an eBosser was given away, so don’t miss out on future giveaways!!!

Saturday, February 4, 2012

We Have A Winner!!!


The winner of a Spellbinders Label #6 Die Set is…..

Capture2

#33 is….

Capture3

CONGRATULATIONS KAREN!!!!


Karen, please send me an e-mail so that I can get your prize mailed to you!  Thanks to everyone for hopping with me!!!  I really enjoyed reading all your comments and I am really looking forward to the next Craftwell blog hop!

Related Posts Plugin for WordPress, Blogger...